Task labels
todo.vu provides Labels to allow you to tag tasks into new categories. This will help you find tasks later on. For example, you may have labels such as “Lead” or “Quote” or “Bill” to help you find particular types of tasks. Or you may use labels to extend the workflow options such as “awaiting client response” or “in testing”.
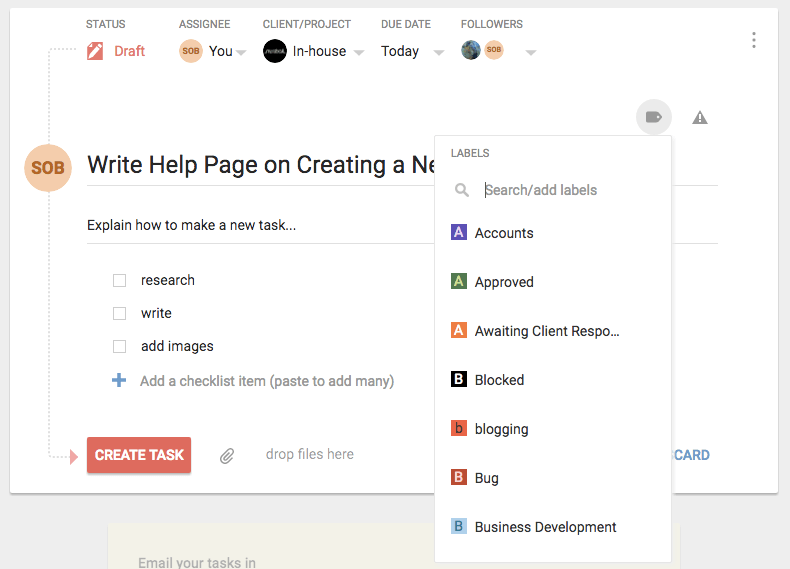
From selected Task page
From within the Task page, you can simply click the label icon and add a new or existing label to the task. Note that you can add as many labels as you like to a task. You can create new labels simply by typing in a new name.
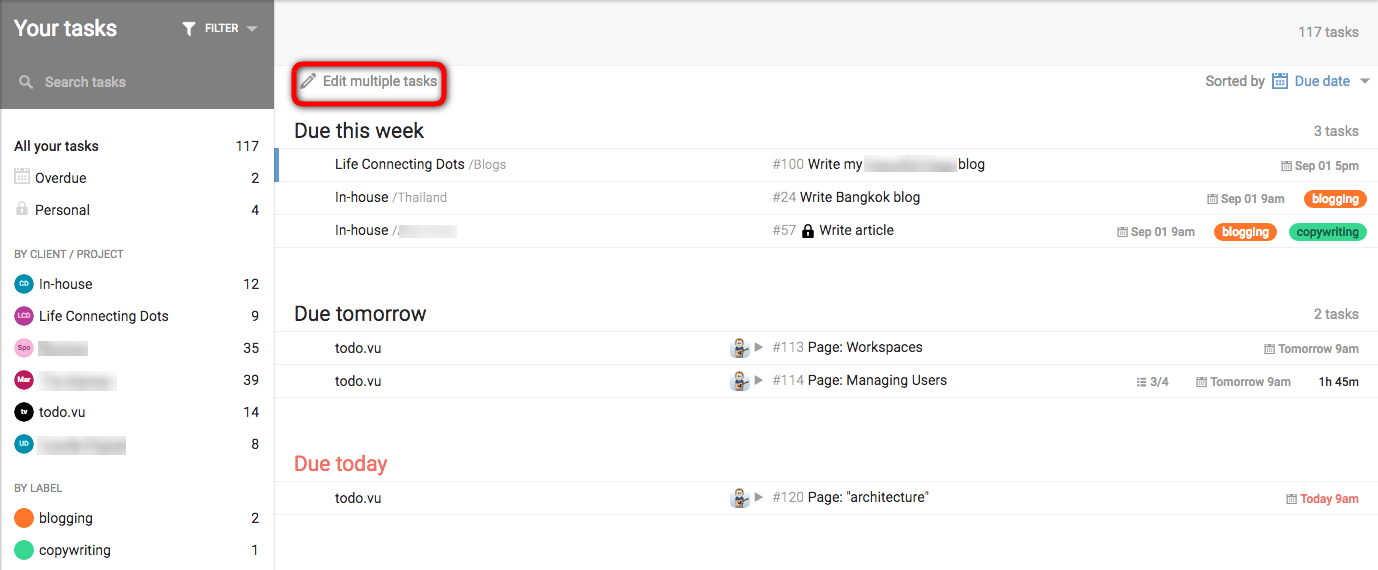
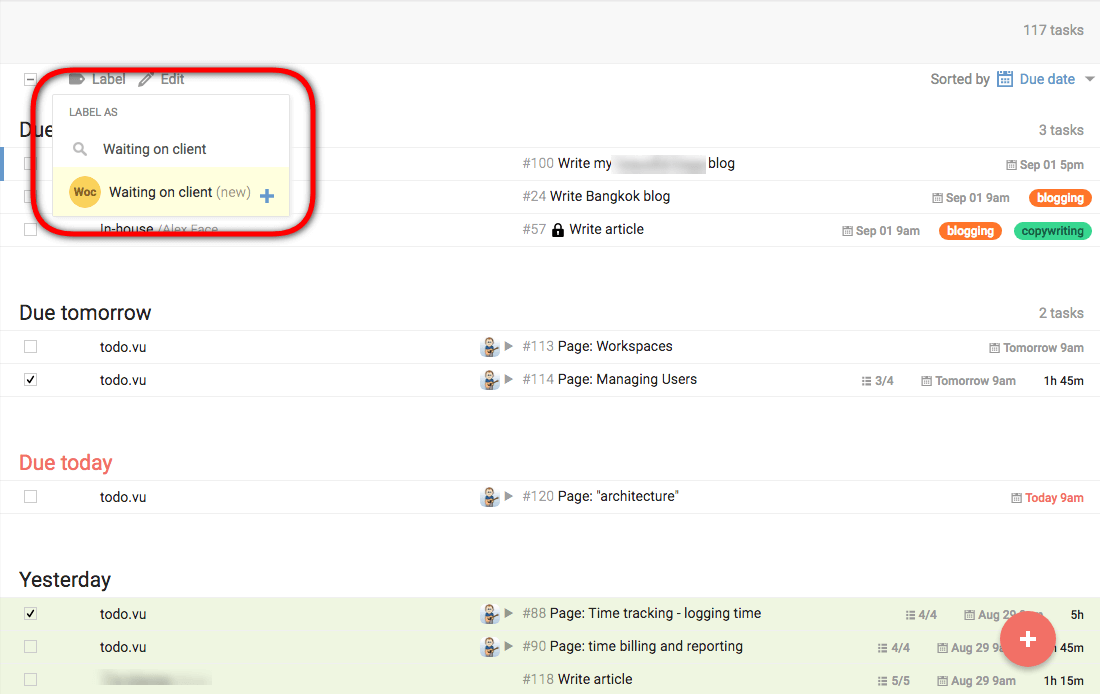
Bulk labelling
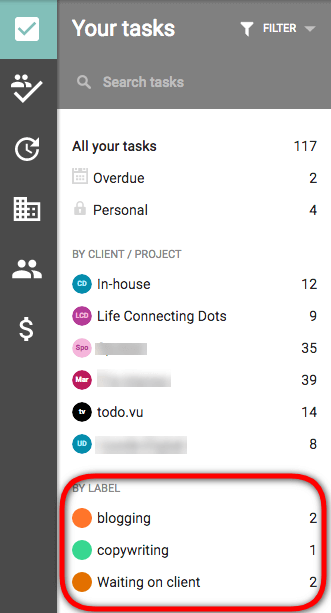
From the Your Tasks or All Tasks page, you will have a list of all of the tasks in your Workspace. Go to Finding Tasks for more information on how to filter your tasks, which could help you to narrow down your search and more quickly identify the tasks you wish to label.
Managing Labels
Labels can be renamed and personalised with colours to evolve as your business does. Note: only admin users can colour and rename labels.
Note: only admin users can colour and rename labels. By default, Staff are unable to create labels, but you can give them permission to do so individually.
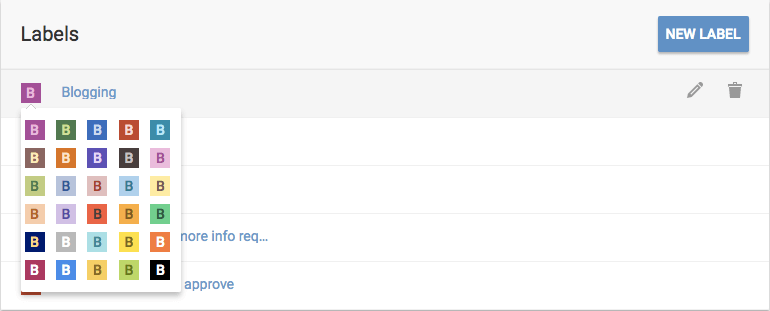
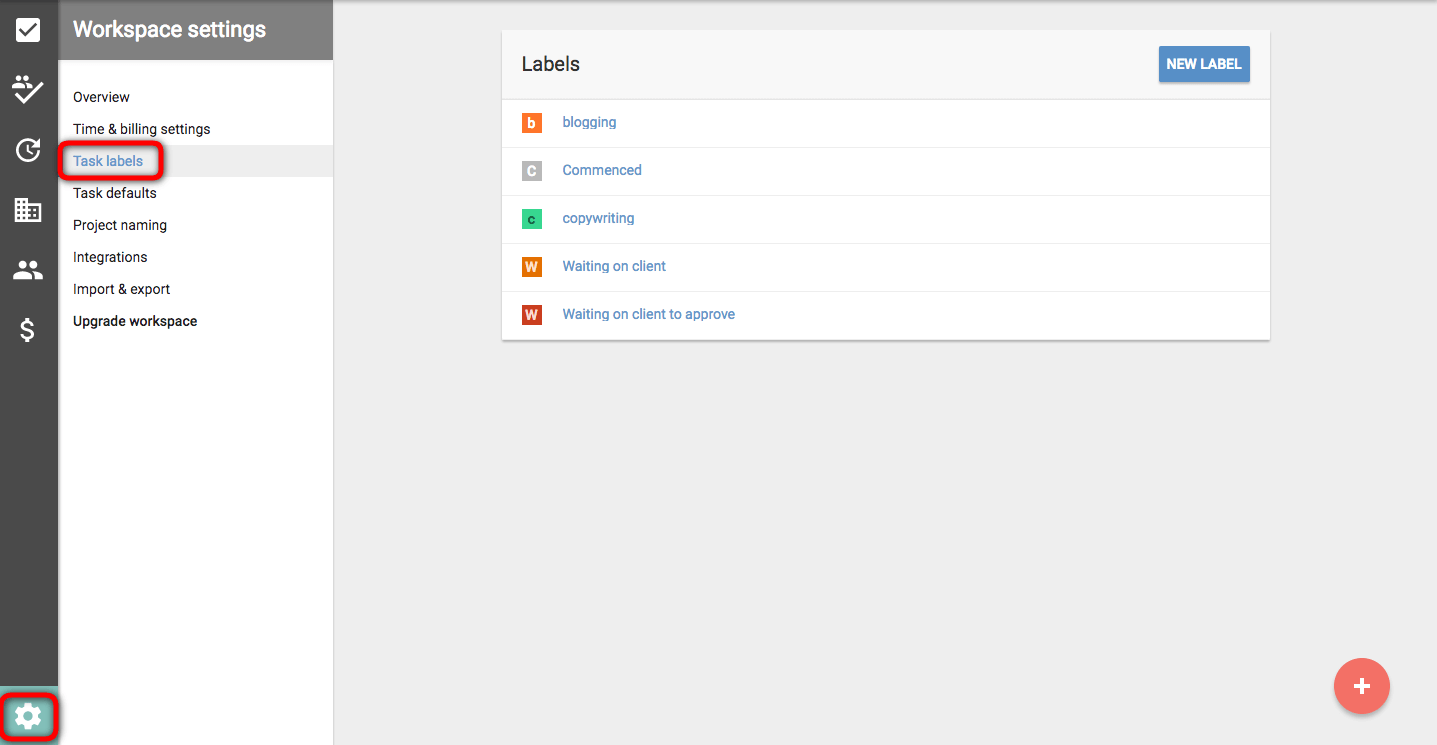
The Task labels section can be found from the Workspace settings cog in the bottom left-hand corner. Then select Task labels from the left column.
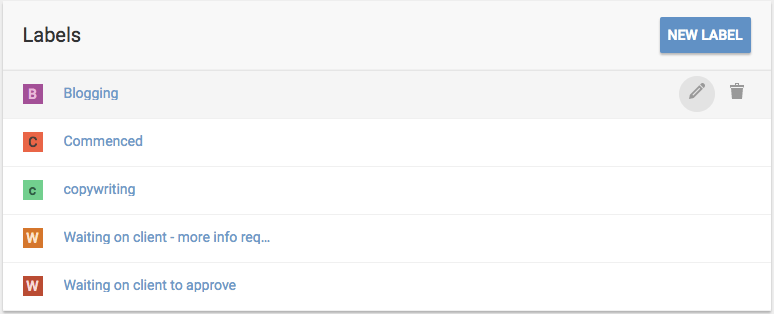
Edit icon – The Edit icon will highlight the existing name of the label allowing you to change it as you wish.
Delete icon – Selecting the delete icon will automatically remove it from the list and remove the label from any tasks that had previously been attached to this label.
Change colour – To change the colour of the label, you simply click on the icon to the left of the name, this will open a pop up with a variety of colours to choose from.