Time Tracking – Logging Time
One of the key features of todo.vu is the time tracker. Tracking the amount of time staff spend on tasks allows you seamlessly compile billing reports for your clients, as well as monitor the productivity of your team. This is done on the todo.vu platform through time entries, which are recorded against tasks. It is simple to capture this data, either manually or through our user-friendly timer.
- Adding time via the coloured Workspace bar
- Adding time manually to a task
- Using timer in a task
- Adding time manually to the time agenda
Adding time via the coloured Workspace bar
The timer can be accessed from coloured Workspace bar, which is found along the top of the page. This bar is accessible from any page in the todo.vu Workspace.

Starting the timer
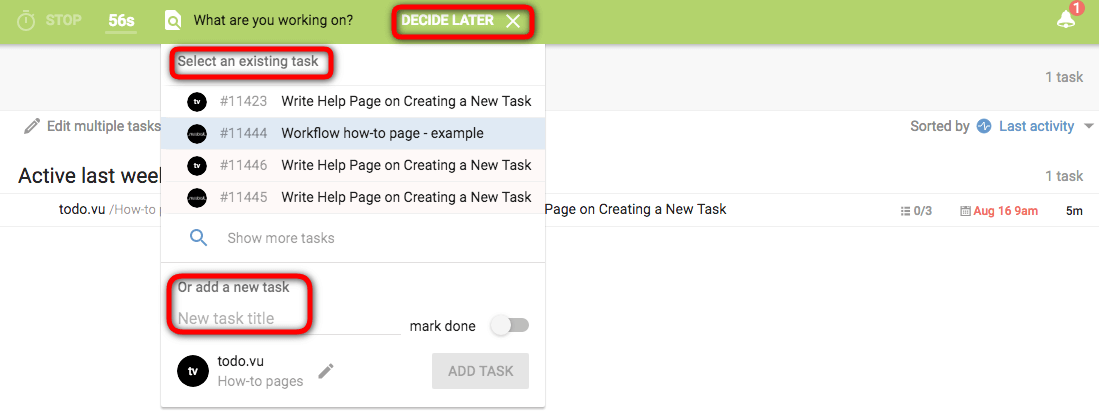
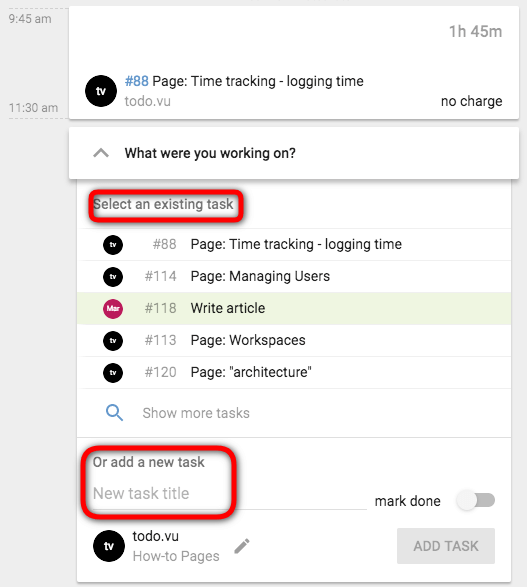
Simply select Start Timer and a drop-down will appear to ask which task you would like the time recorded against. You can select an existing task from the drop-down or you can easily add a new task from here.
Stopping the timer
When you are ready to stop the timer, you can do a quick stop or you can go into further options through the drop-down button.
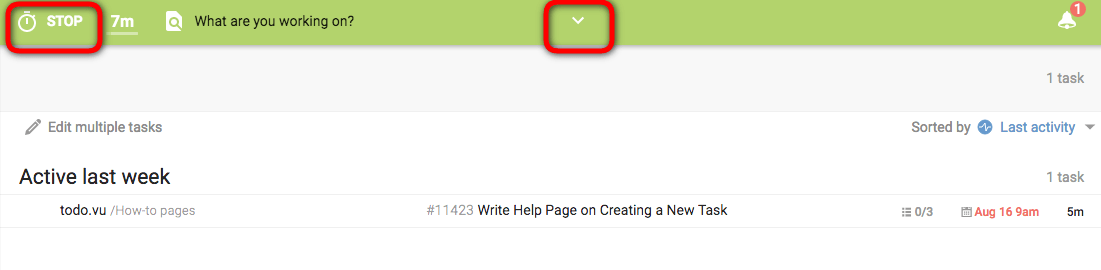
Quick stop
Clicking the Stop button is the quickest option to stop your timer and log your time.
If you did not select an existing task or add a new one to log this time to when you started the timer, you will have to input this information now.
Timer drop-down
As well as being used to stop the timer and add information. This dropdown also gives you the ability to make changes to the timer whilst it is still running. Once you click on the drop-down it will open up four options:
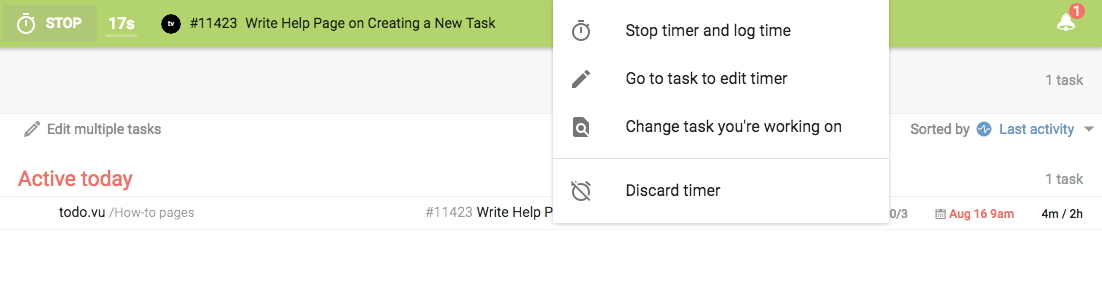
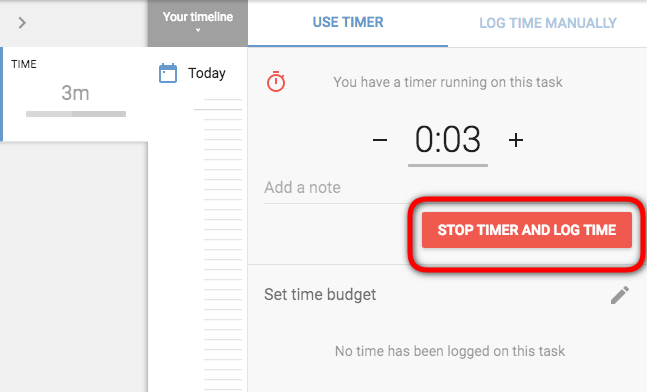
- Stop timer and log time – Similar to the quick stop, this will simply stop the timer and record the time automatically against the selected task.
- Go to task and edit timer – This option is helpful if you wish to add notes to the time entry. For example, you may wish to note what work was done in this time entry or any other notes that will help you or your team when referring back to this time entry.
- Change task you’re working on – Selecting this option will reopen the drop-down of tasks. Here you can select a different existing task or create a new one and change where this time entry is logged.
- Discard timer – Be careful with this option as it will completely delete the time entry. If you do this by mistake don’t worry, you can simply enter the time manually.
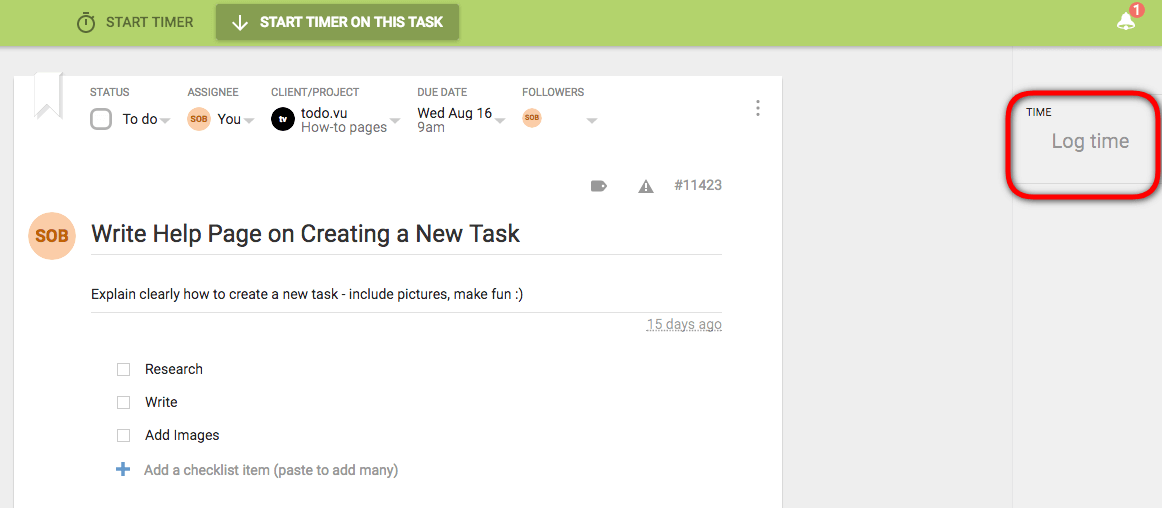
Adding time manually to a task
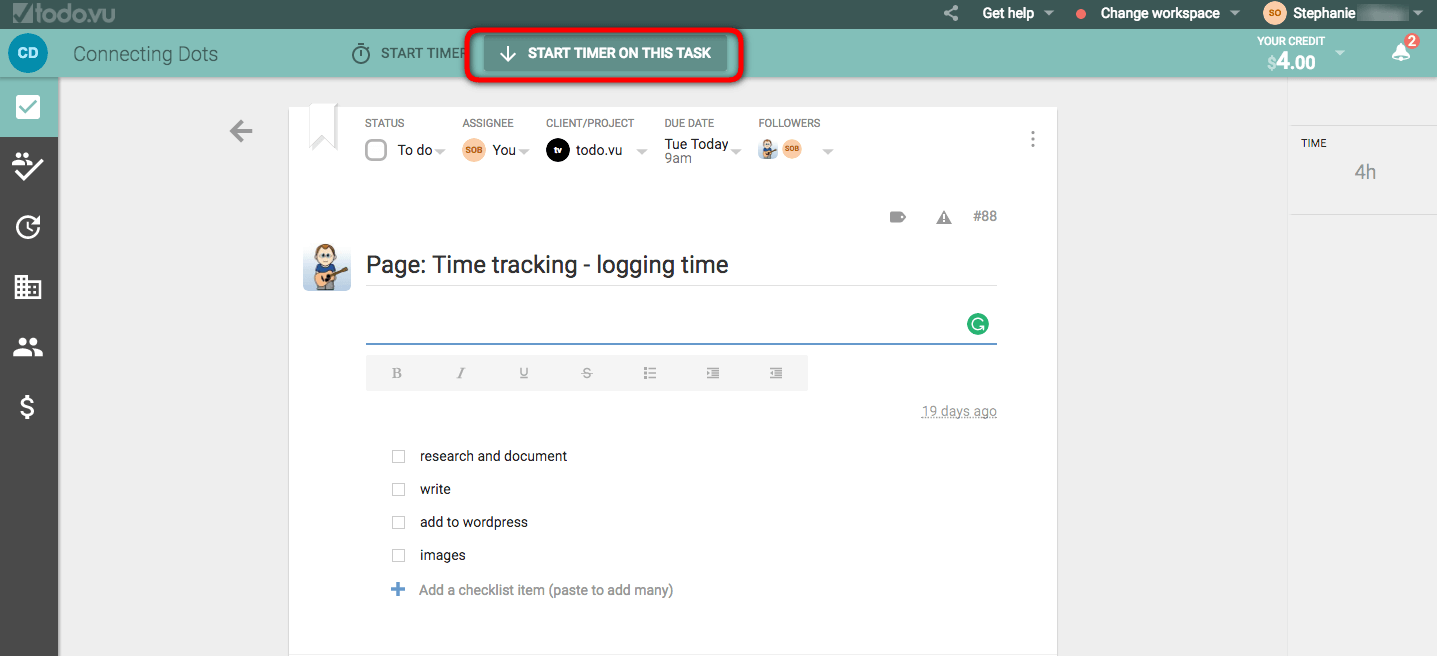
Time can be added manually from inside the task page. On the right-hand side of the page, you will see a drawer for Time with the option to Log time. Clicking on Log time will open the drawer.
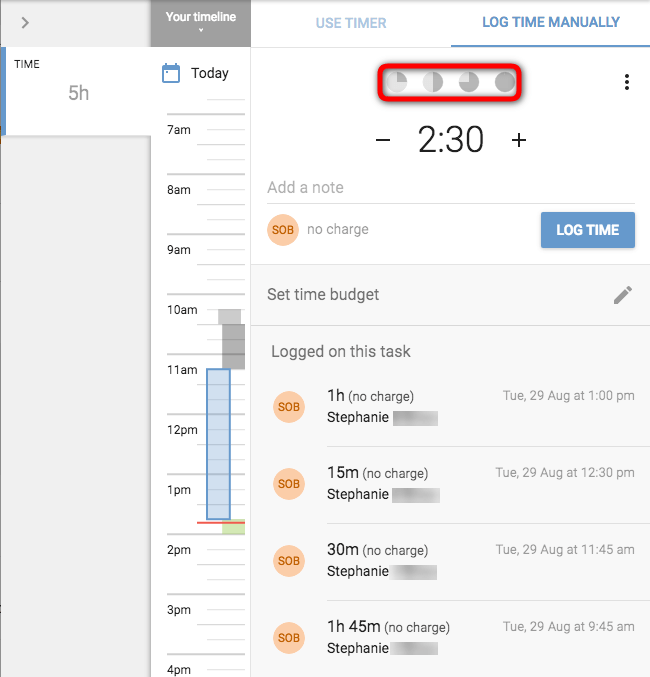
From here you can use the time disks which allow you to quickly choose common times of 15min, 30min, 45 min or 1 hr. Alternatively, you can use the – or + signs to input the specific time you wish to record.
Note – The disks will vary depending on the minimum time increment that you have chosen. If you choose a 1min or 5min increment then you get a 5min disk in addition to the 15, 30, 45, 60 disks. See Time and billing setting for more information on setting time increments.
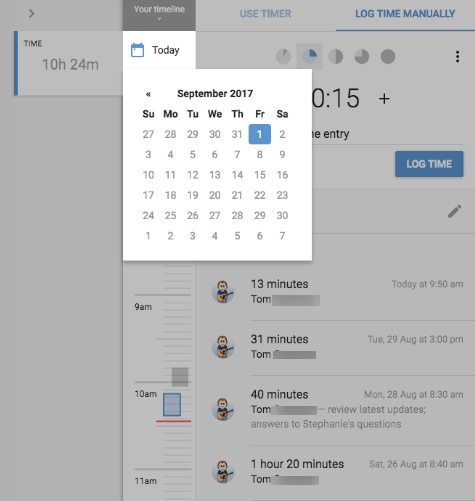
Calendar for adding time to previous days
In your drawer, under Your timeline, you can click on the calendar icon which will open up your calendar. The calendar allows you to quickly change the date and enter time for previous days.
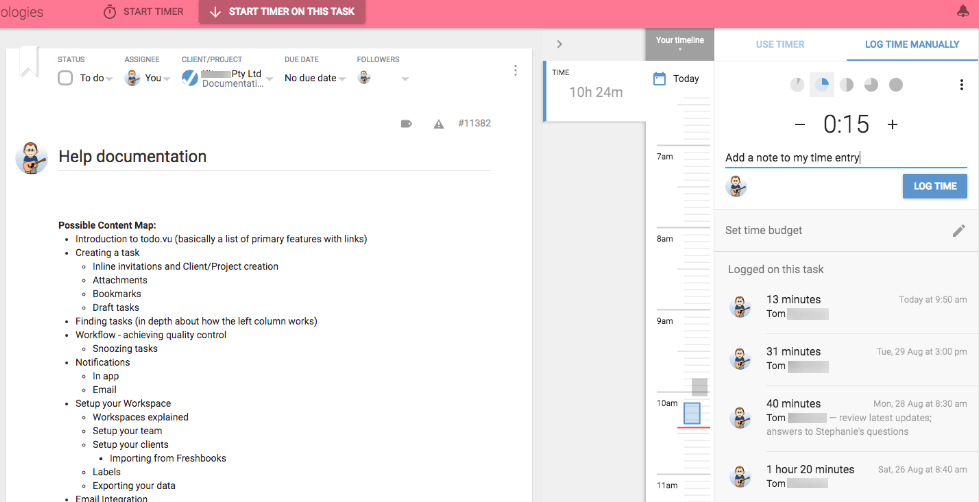
Additional Drawer features
You will notice that the draw has a few other options.
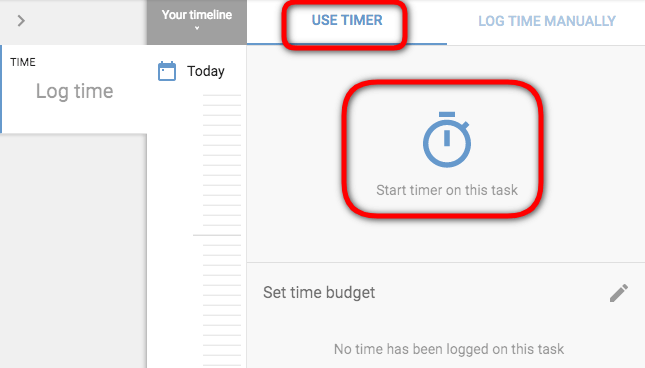
- Use timer – Selecting this button will bring up the timer, which you can use to record your time. More details in the next section.
- Add a note – Here you can add notes to the time entry. This does not have to be done before time is logged. You can go into the time entries at any time and add a note.
- Set time budget – We will go over this in more detail at the end of the page.
Admin only features
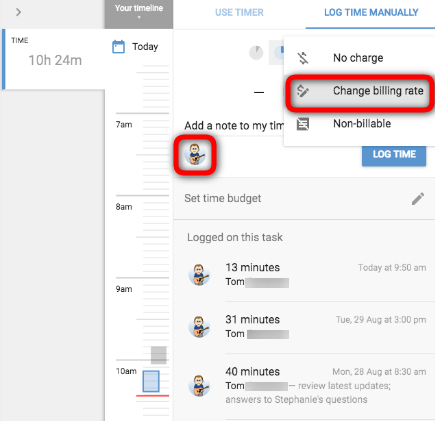
Admin users have advanced features for manual time entry. They are able to add time as a different user and are able to set the billing rate when logging time.
Add time as a different user – Clicking on the user avatar will allow you to select other users you wish to log time as.
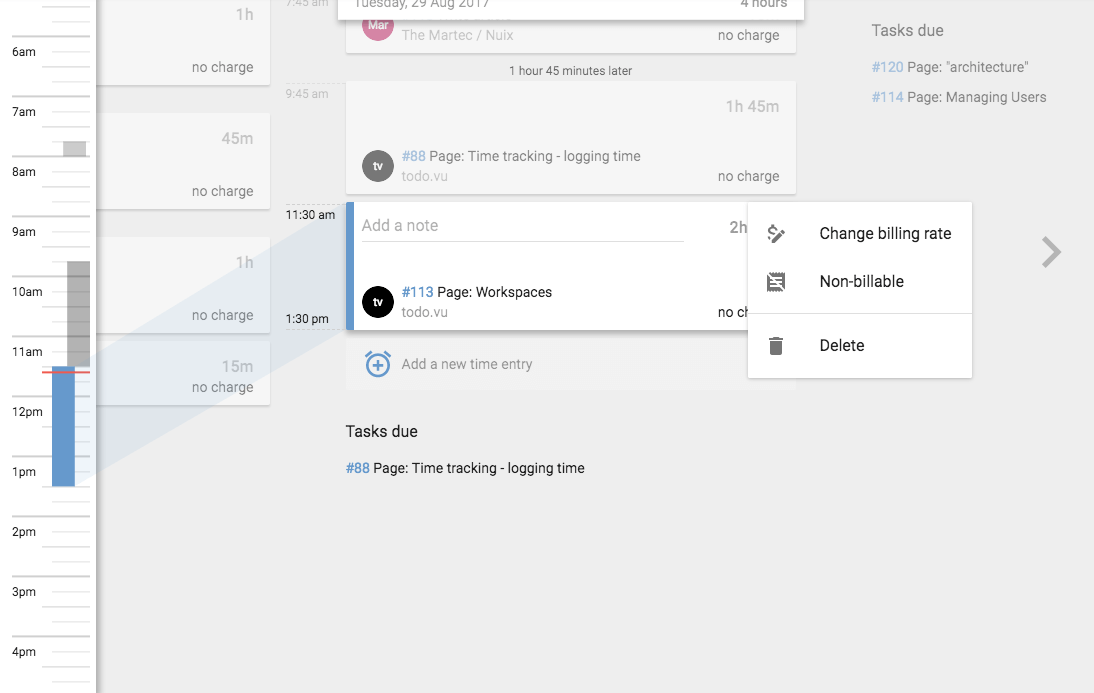
Changing billing rate – Clicking on the 3-dot menu to the right, next to the time disks, will open a box with No charge, Change billing rate and Non-billable. Selecting Change billing rate allows you to easily set the billing rate at the time of logging the task.
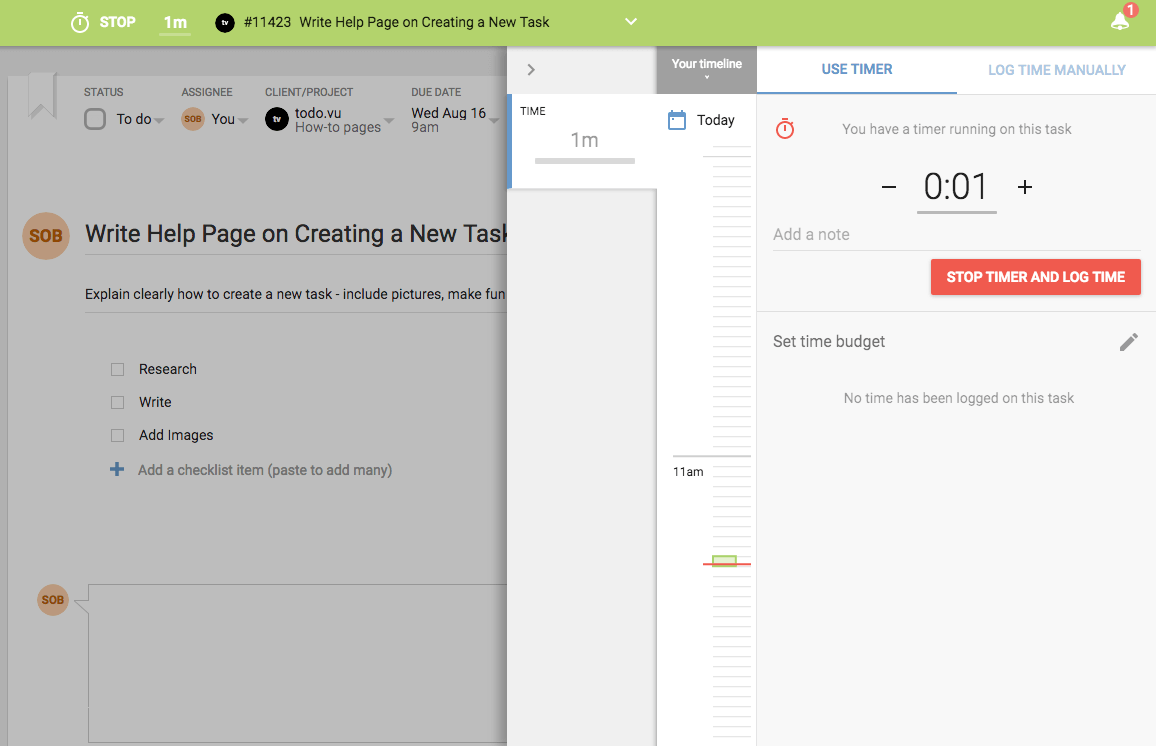
Using timer in a task
As we have seen in our Drawer. There is an option to use the timer from within the task through the Drawer.

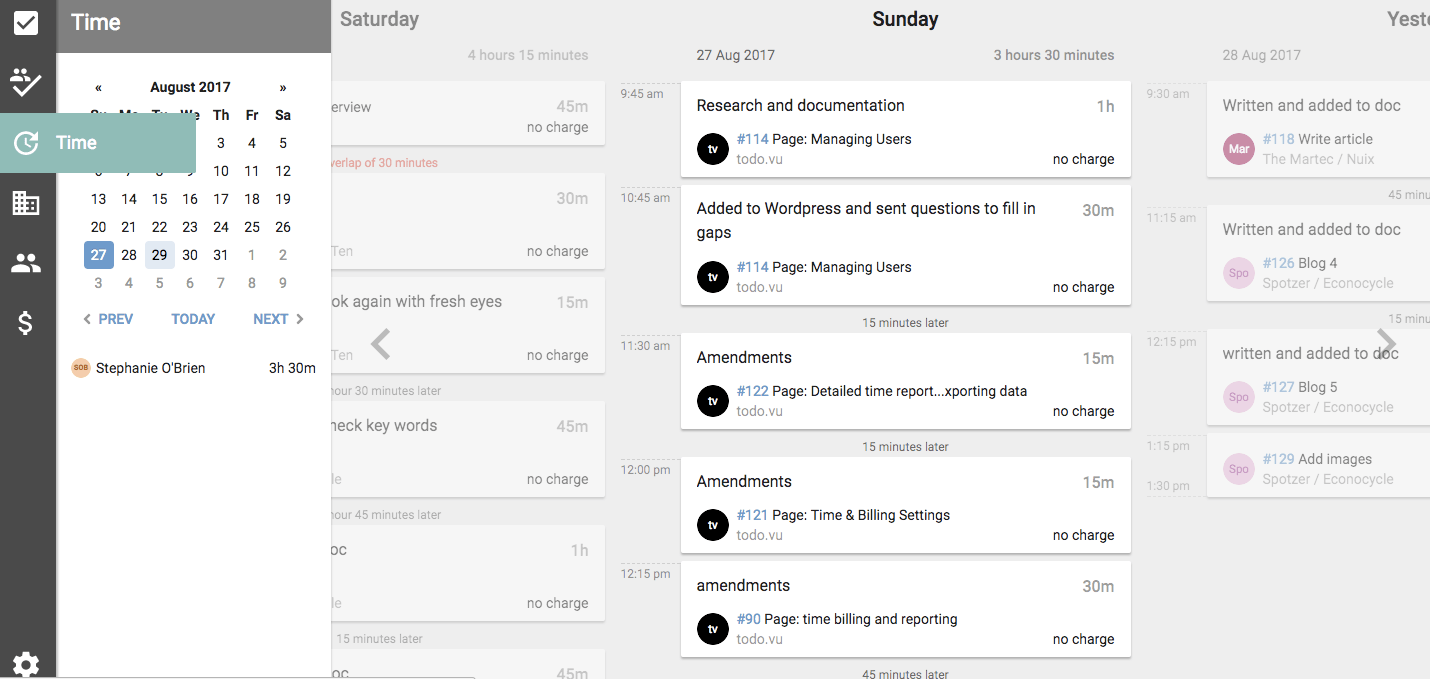
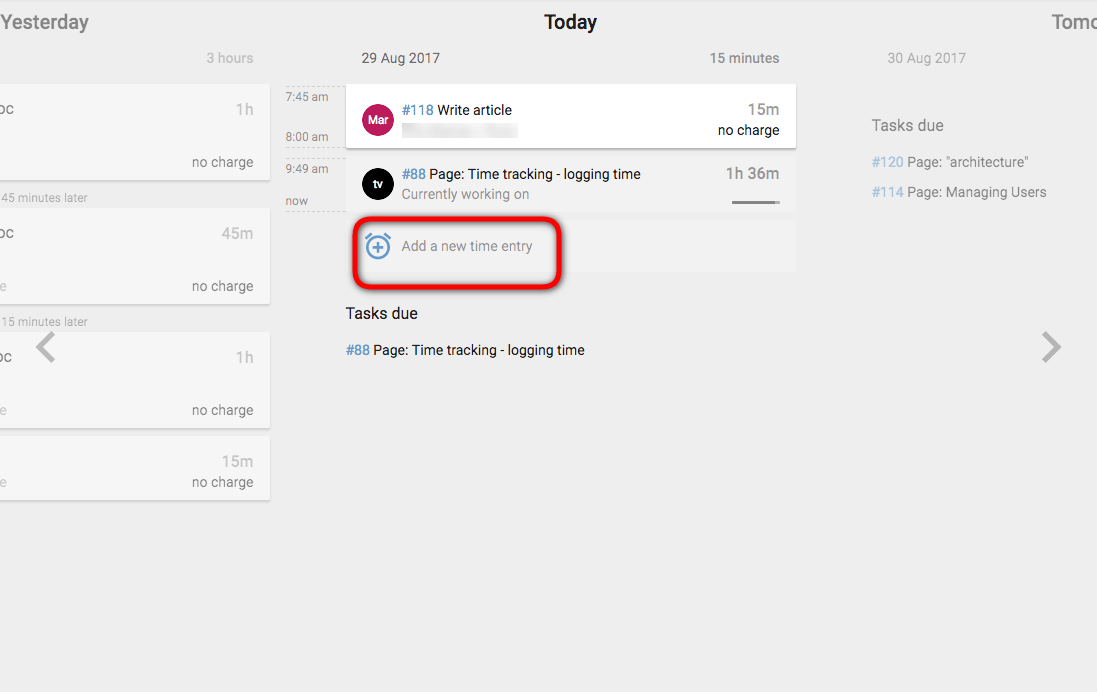
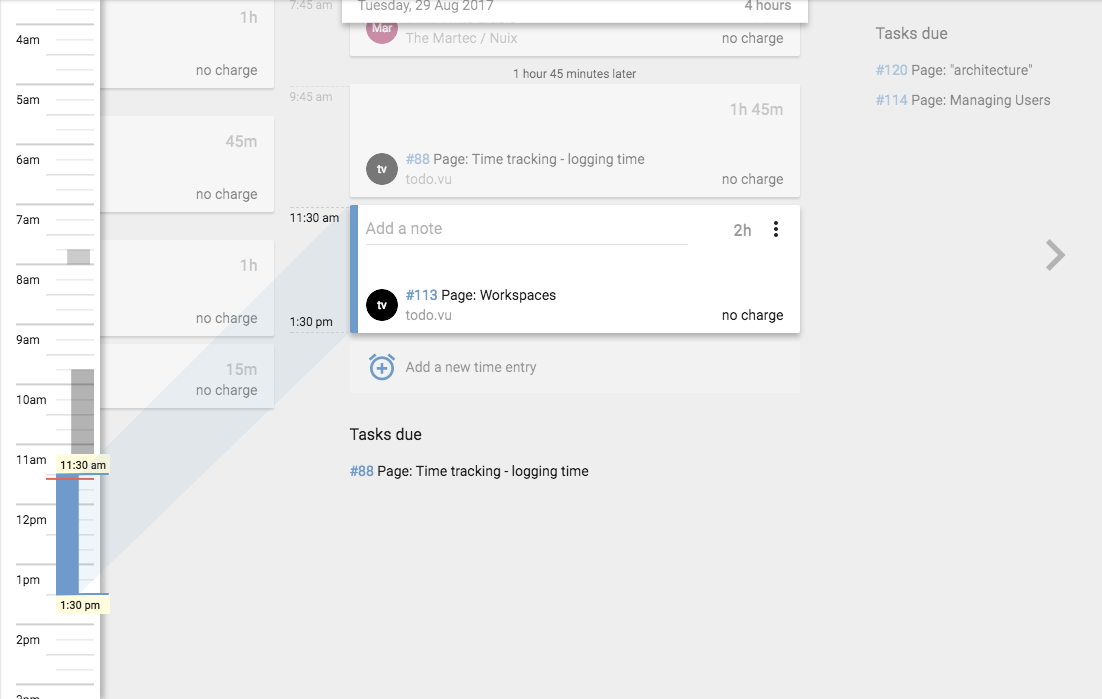
Adding time manually to the Time agenda
The time agenda is the section of your workspace where you can see a daily view of the time logged by you and your team. You can use the calendar to the left to quickly select the days you wish to view. All staff will be able to view this section to allow transparency across the Workspace. New time entries can be added on any day.
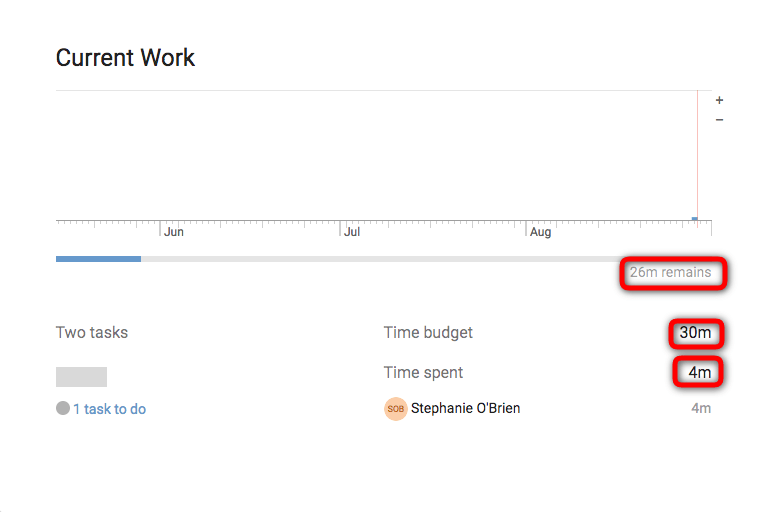
Time budget feature
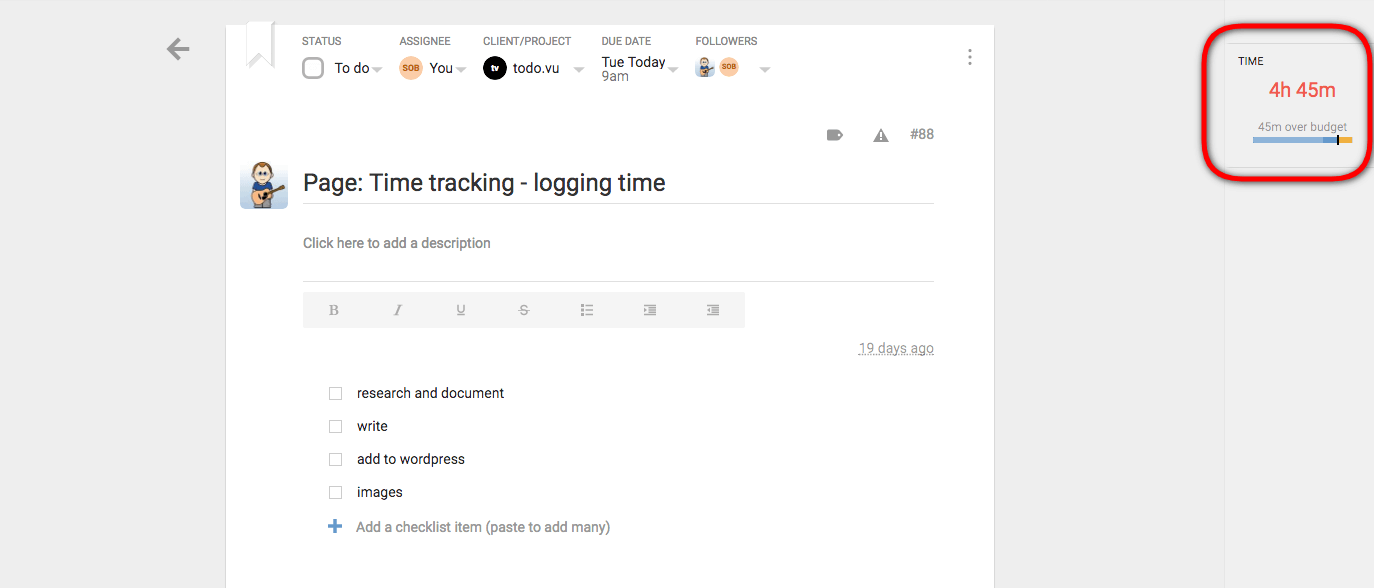
You will have noticed the time budget feature when logging time manually from the drawer in the task page. This feature allows you to set a specific amount of time you wish to allocate to a task. Many consultants will quote a price based on the amount of time they think the task will take. This helps you to monitor or record how long you want to spend on this. It also helps you to manage your team by setting budget within which they must complete the task.
Time budget can be set from within the task or through the project:
Setting time budget through the task page
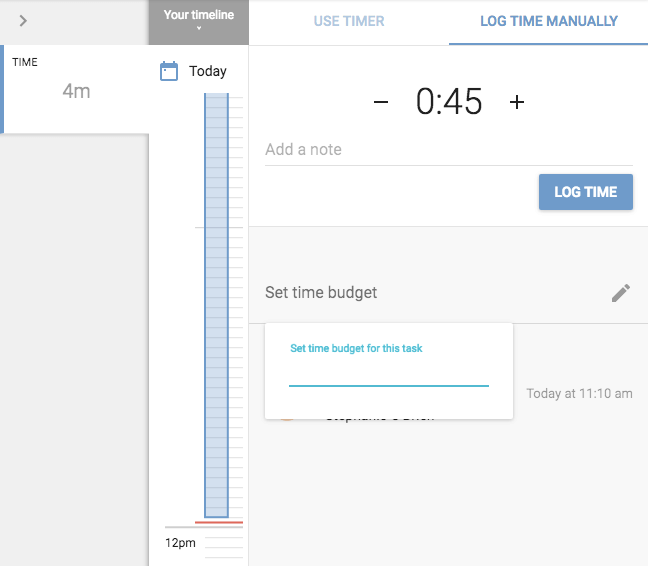
Once in your task page, you click on the Log time button to open your Drawer on the right-hand side. In here you will see a section that says Set time budget. Clicking this section will open a box where you can input the amount of time you wish to set in your budget.
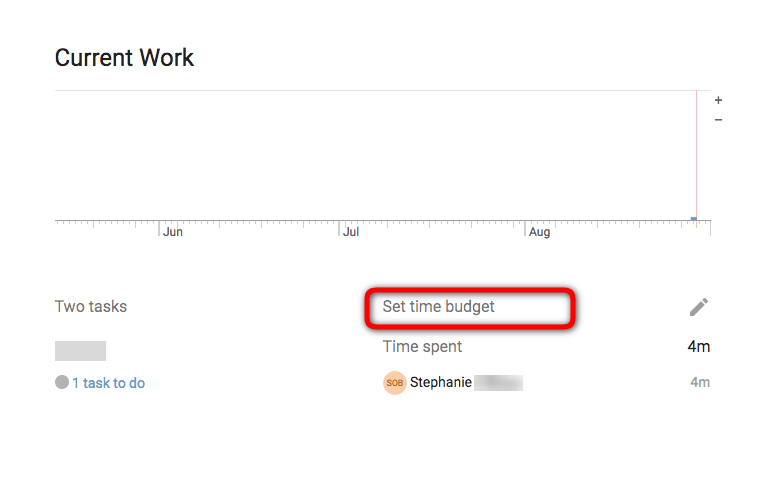
Setting time budget through the project
You will find the Projects page through the left sidebar. Click on the Projects icon and you will be taken to the Projects main page.
Notes for Admin
- Admin can set up time increments from Time and billings settings. (GO TO Time and Billing setup for more info)
- Admin staff can change the billing rate on a time entry. (Go to Billing Time for more information.)
- Admin staff can add time entries for other staff.